前言
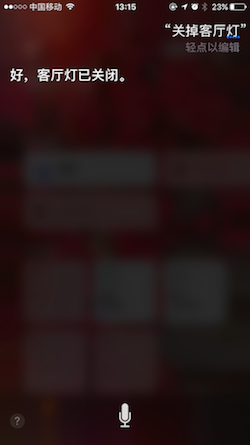
想象一下,吃过晚饭,坐在沙发上,“嘿Siri,电视时间”,客厅灯关了,电视和电视盒子开了。过了很久,你困了,起身,“嘿Siri,准备睡觉”,卧室床头灯开了,电视和电视盒子关了,最后,你躺在床上,“嘿Siri,晚安”,随之你的家也开始休息。

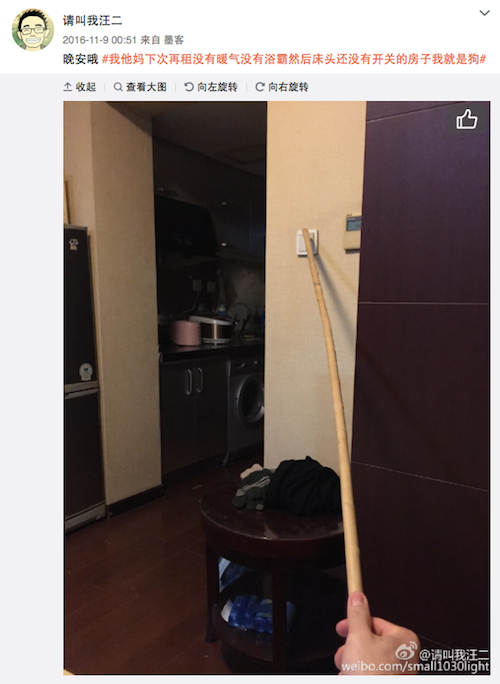
当然,你也可以想象一下这样的场景。
硬件
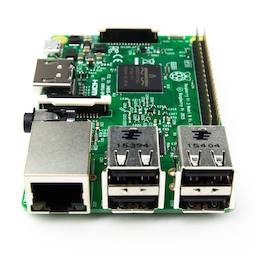
树莓派3B
价格: ¥256
易微联Wi-Fi智能插座(sonoff s22)
价格: ¥29.9

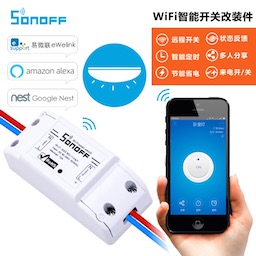
sonoff Wi-Fi智能开关改装件
价格: ¥29.9
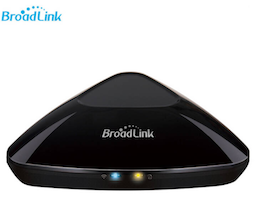
BroadLink RM Pro
价格: ¥179
软件
HomeAssistant是运行在Python 3上的开源智能家居平台,能够跟踪和控制家中的智能设备,实现自动化控制。
安装教程
Homebridge是一种轻量级的NodeJS服务器, 模拟iOS HomeKit API, 让普通的 Wifi 设备也能接入 HomeKit 从而通过Siri控制。
安装教程
安装:npm install -g homebridge-homeassistant
安装:npm install -g homebridge-broadlink-rm
接入
Sonoff设备
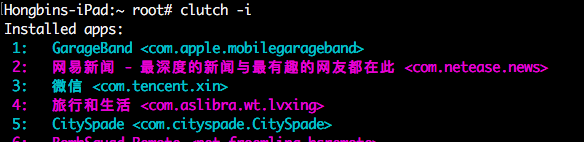
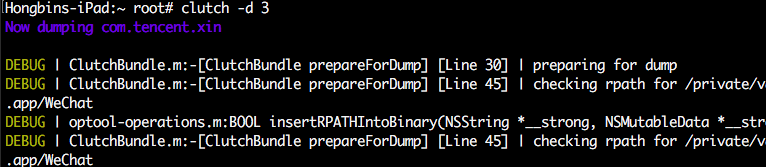
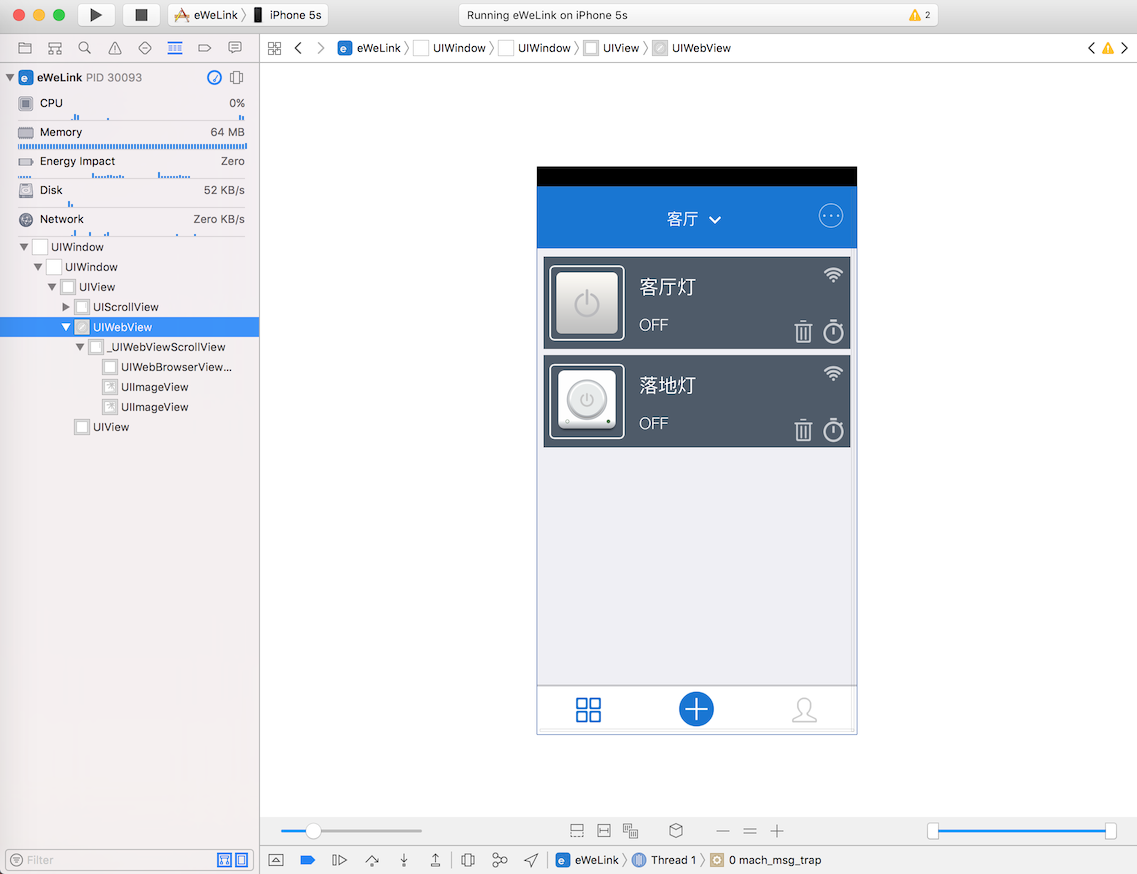
首先,按照官方教程,对sonoff设备进行设置。设置完成后,我们已经可以在易微联app中进行控制了。当然。我们要做的是在HomeAssistant中进行控制。目前网上所能找到的方法是对Sonoff开关进行改造,刷固件,Sonoff开关改造及刷机模式进入,Sonoff-HomeAssistant,本来我当时也是打算照着视频教程做,无奈,淘宝买的电烙铁还在快递的路上,只好对易微联App逆一逆,以表敬意。
我使用了 XcodeAppPluginTemplate 创建工程,编译执行,可以看到,它实际上是套了app外壳的webview。
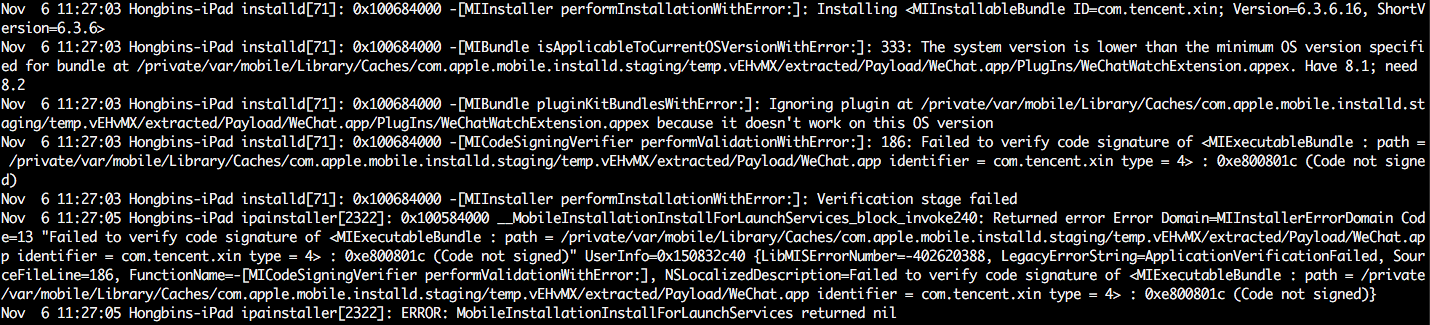
控制台打印了不少有用信息,分析log可以得出大致的控制流程。
1
2
3
4
5
6
7
8
9
10
11
12
13
| 握手过程
2017-05-17 14:14:07.190 eWeLink[30093:2297910] service/websocket.js websocket open success
2017-05-17 14:14:07.192 eWeLink[30093:2297910] service/device.js 开始发送握手协议 =========================================================
2017-05-17 14:14:07.194 eWeLink[30093:2297910] service/websocket.js send:{"action":"userOnline","version":6,"imei":"XXXXXXXX-XXXX-XXXX-XXXX-XXXXXXXXXXXX","ts":"1495001046","model":"iPhone6,2","os":"ios","romVersion":"9.2","at":"07a6925f4eacf232e712e4154358f568fc238849","userAgent":"app","apikey":"xxxxxxxx-xxxx-xxxx-xxxx-xxxxxxxxxxxx","appid":"xxxxxxxxxxxxxxxxxxxxxxxxxxxxxxxx","nonce":"xxxxxxxx","sequence":"1495001046926","apkVesrion":"1.8"}
2017-05-17 14:14:07.198 eWeLink[30093:2297910] service/devices.js 服务器返回:{"error":0,"apikey":"xxxxxxxx-xxxx-xxxx-xxxx-xxxxxxxxxxxx","config":{"hb":1,"hbInterval":145},"sequence":"1495001046926"}
2017-05-17 14:14:07.201 eWeLink[30093:2297910] service/device.js 握手协议发送完成,可以操作
操作过程
2017-05-17 14:16:13.210 eWeLink[30093:2297910] service/websocket.js send:{"action":"update","userAgent":"app","apikey":"xxxxxxxx-xxxx-xxxx-xxxx-xxxxxxxxxxxx","deviceid":"10000xxxxx","params":{"switch":"on"},"sequence":"1495001173130"}
2017-05-17 14:16:14.016 eWeLink[30093:2297910] service/devices.js 服务器返回:{"error":0,"deviceid":"10000xxxxx","apikey":"xxxxxxxx-xxxx-xxxx-xxxx-xxxxxxxxxxxx","sequence":"1495001173130"}
更新过程
2017-05-17 14:17:13.815 eWeLink[30093:2297910] service/devices.js 设备更新参数信息::{"action":"update","deviceid":"10000xxxxx","apikey":"xxxxxxxx-xxxx-xxxx-xxxx-xxxxxxxxxxxx","userAgent":"app","sequence":"1495001233394","ts":0,"params":{"deviceType":"normal","mainSwitch":"off","switch":"off"},"tempRec":"10000xxxxx"}
|
1
2
3
4
5
6
7
8
9
10
11
12
13
14
15
16
17
18
19
20
| +------------------------------------+
| |
| |
| Server |
| |
| |
++--------+----------+--------+------+
^ ^ ^ |
| | | |
|connect |handshake |control |update
| | | |
| | | |
| | | v
++--------+----------+--------+------+
| |
| |
| App |
| |
| |
+------------------------------------+
|
由此,我用python写了sonoff-server,模拟app对易微联后台发送控制指令,接受相应的状态改变信息,并且封装成Restful接口给HomeAssistant调用。具体参数信息,可以通过抓包分析或者逆向得到。
执行命令python sonoff-server.py,修改.homeassistant/configuration.yaml, 加入如下文本。其中127.0.0.1:5000为sonoff-server服务ip地址,10000xxxxx 10000yyyyy为sonoff设备编号。
1
2
3
4
5
6
7
8
9
10
11
| switch:
- platform: rest
name: "Bedroom Switch"
body_on: "on"
body_off: "off"
resource: http://127.0.0.1:5000/switch/10000xxxxx
- platform: rest
name: "Bedroom Lamp Switch"
body_on: "on"
body_off: "off"
resource: http://127.0.0.1:5000/switch/10000yyyyy
|
然后,重启HomeAssistant sudo systemctl restart home-assistant@homeassistant.service,重启HomeBridge sudo /etc/init.d/homebridge restart,不出问题的话,就可以在iPhone中家庭app看到新增的设备了。
BroadLink Rm Pro
对于普通的红外遥控设备,可以在家庭app中触发Learn开关,按下遥控键,就可以在homebridge的log中看到对应的指令码。但是奇怪的是BroadLink RM收不到小米遥控器的指令信息,然而易控app又确实可以控制小米盒子,所以,只好再逆一逆了。
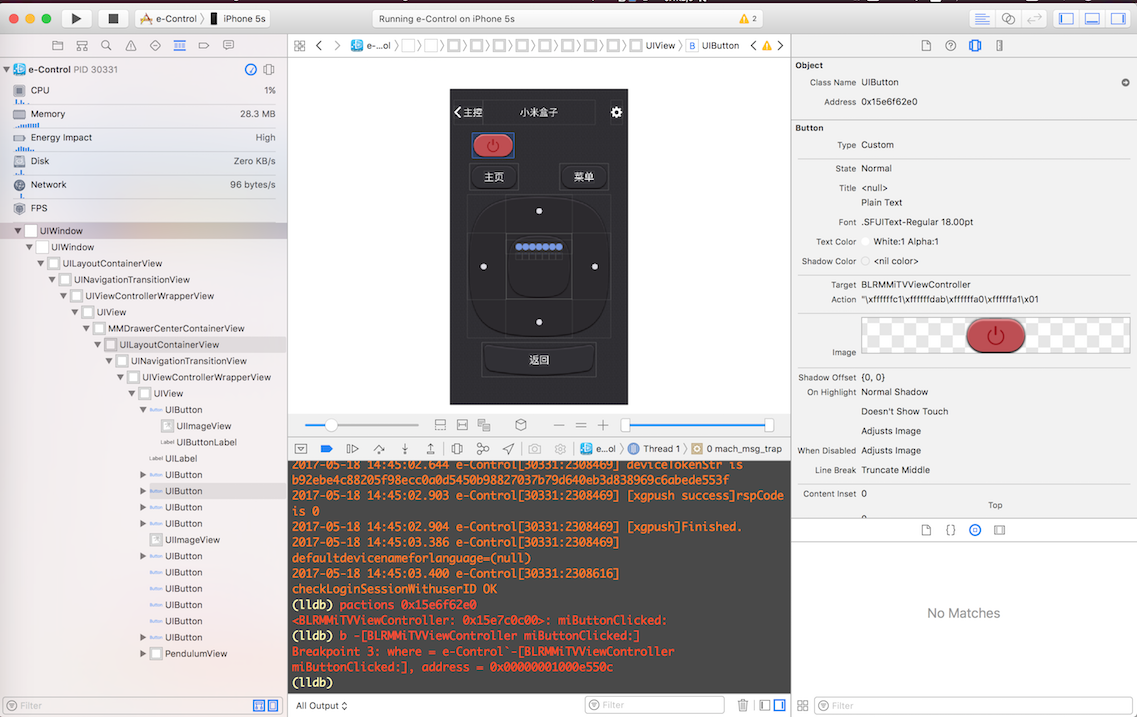
在-[BLRMMiTVViewController miButtonClicked:]打断点,按下开关键,断点触发,然后在调用objc_msgSend处打断点,通过po (char *)$x1查看调用的方法,最后,摸索出
1
2
3
| -[BLRMMiTVViewController miButtonClicked:]
-[BLRMMiTVViewController sendCodeWithButtonIndex:]
-[BLFMDBSqlite getCodesByButtonID:]
|
这一调用链,直觉告诉我-[BLFMDBSqlite getCodesByButtonID:]返回的结果就是我所需要的
1
2
3
4
5
6
7
8
9
10
11
12
13
14
15
16
17
18
19
20
21
22
23
24
25
26
27
28
29
30
31
32
33
34
| (lldb) po [$x0 getCodesByButtonID:$x2]
<__NSArrayM 0x15fa56a30>(
<BLCode: 0x15fa3ae10>
)
(lldb) po [BLCode _shortMethodDescription]
<BLCode: 0x100dce5d8>:
in BLCode:
Properties:
@property (nonatomic) long codeID; (@synthesize codeID = _codeID;)
@property (nonatomic) long buttonID; (@synthesize buttonID = _buttonID;)
@property (retain, nonatomic) NSData* code; (@synthesize code = _code;)
@property (retain, nonatomic) NSString* name; (@synthesize name = _name;)
@property (nonatomic) long order; (@synthesize order = _order;)
@property (nonatomic) long delay; (@synthesize delay = _delay;)
Instance Methods:
- (void) setCodeID:(long)arg1; (0x1005a3b8c)
- (long) codeID; (0x1005a3b7c)
- (void) .cxx_destruct; (0x1005a3c8c)
- (void) dealloc; (0x1005a3a54)
- (id) init; (0x1005a3abc)
- (void) setName:(id)arg1; (0x1005a3c14)
- (id) name; (0x1005a3c04)
- (long) delay; (0x1005a3c6c)
- (void) setDelay:(long)arg1; (0x1005a3c7c)
- (id) code; (0x1005a3bbc)
- (void) setOrder:(long)arg1; (0x1005a3c5c)
- (long) order; (0x1005a3c4c)
- (void) setButtonID:(long)arg1; (0x1005a3bac)
- (long) buttonID; (0x1005a3b9c)
- (void) setCode:(id)arg1; (0x1005a3bcc)
(NSObject ...)
(lldb) po [0x15fa3ae10 code]
<26004c00 24111511 152d152d 1511152d 1511152d 1511152d 152d1601 5b241115 11152d15 2d151115 2d151115 2d151115 2d152d16 015b2411 1511152d 152d1511 152d1511 152d1511 152d152d 14000ccb 00000000 00000000 00000000 00000000 00000000>
|
已经得到了想要的指令了。
接下来,在 .homebridge/config.json 中添加
1
2
3
4
5
6
7
8
9
10
11
12
| {
"platform": "BroadlinkRM",
"name": "Broadlink RM",
"accessories": [{
"name": "MiBox",
"type": "switch",
"data": {
"on": "26004c0024111511152d152d1511152d1511152d1511152d152d16015b24111511152d152d1511152d1511152d1511152d152d16015b24111511152d152d1511152d1511152d1511152d152d14000ccb0000000000000000000000000000000000000000",
"off": "26004c0024111511152d152d1511152d1511152d1511152d152d16015b24111511152d152d1511152d1511152d1511152d152d16015b24111511152d152d1511152d1511152d1511152d152d14000ccb0000000000000000000000000000000000000000"
}
}]
}
|
总结
本文记录的主要是接入硬件中遇到的问题,其他还有许多由于篇幅问题未做记录,但大部分都可以在官网给出的文档中查到。WWDC2017快了,HomeKit 和 SiriKit 会有什么更新,拭目以待。